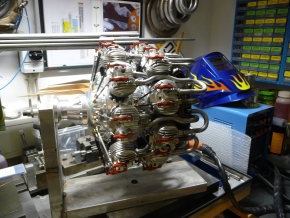
February 2013 - Construction Phase 7
Finishing exhausts and manifolds
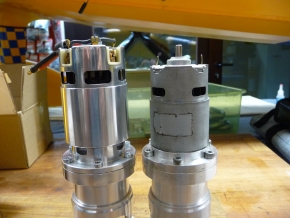
New starter with 18V in the picture on the left (on the right the old 12V model)
The new model has a ventilated engine case (exhaust air)

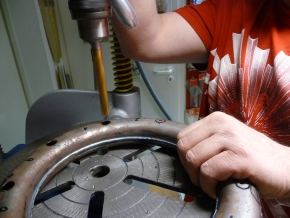
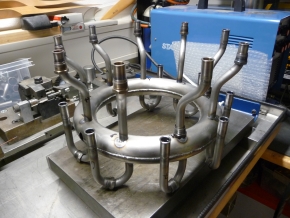
Drilling the ring muffler. 9 holes on the left, 9 holes on the right.
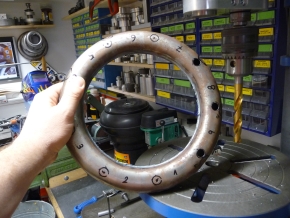
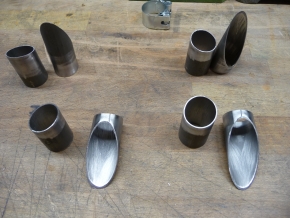
Fitting the outlet pipes into the radius of the ring muffler
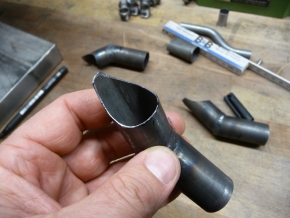
Filing down the holes for the outlet pipes. Everything has to be custom-fit.
Otherwise you can’t weld it (0,5 mm wall thickness).

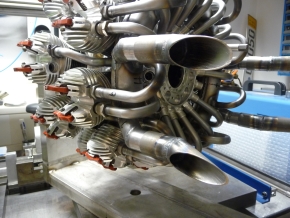
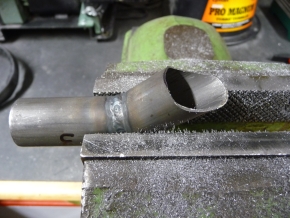
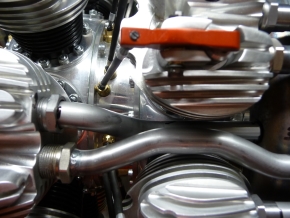
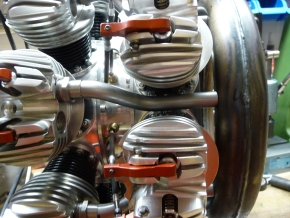
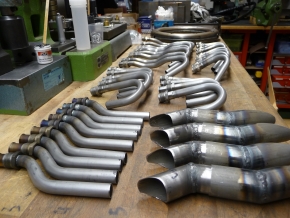
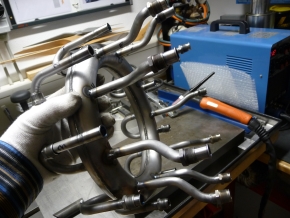
Bent exhaust manifold for the front cylinders. These still have to be cut or adjusted to the right length.
Somehow it’s getting tighter and tighter.
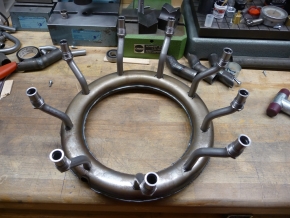
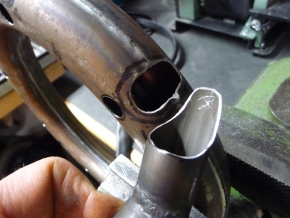
Fitting the outlet manifolds in/into the ring muffler
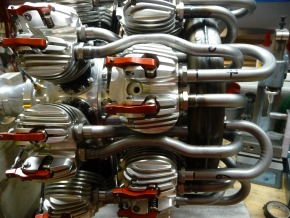
Here the flange sleeves are welded to the outlet manifolds.
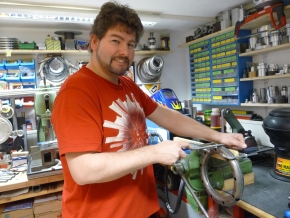
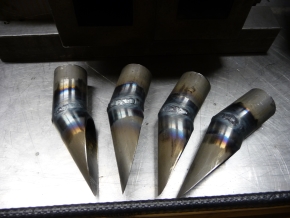
Customized clip-on outlet pipes and then completely welded.
Variation for the test bench. These still have to be fitted to the right model or replaced.
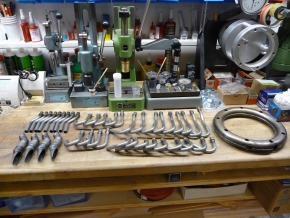
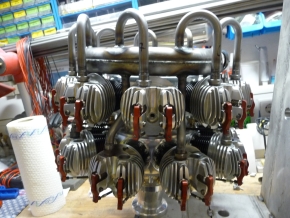
The finished welded manifolds with flange sleeves are waiting for assembly.
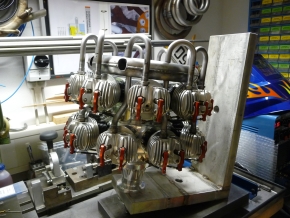
After everything is fitted and in its place, the manifolds are stapled in the mounted state.
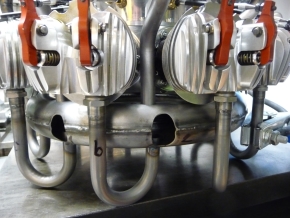
After stapling everything is disassembled once again and welded completely.
Adjustment work once again after welding.
The manifolds are annealed tension-free, so they don’t tear later.

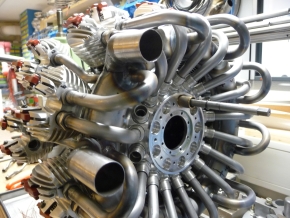
Now the tail pipes (4) are fitted and also welded.
Then the ring muffler is expanded completely and the plating with nickel is prepared.